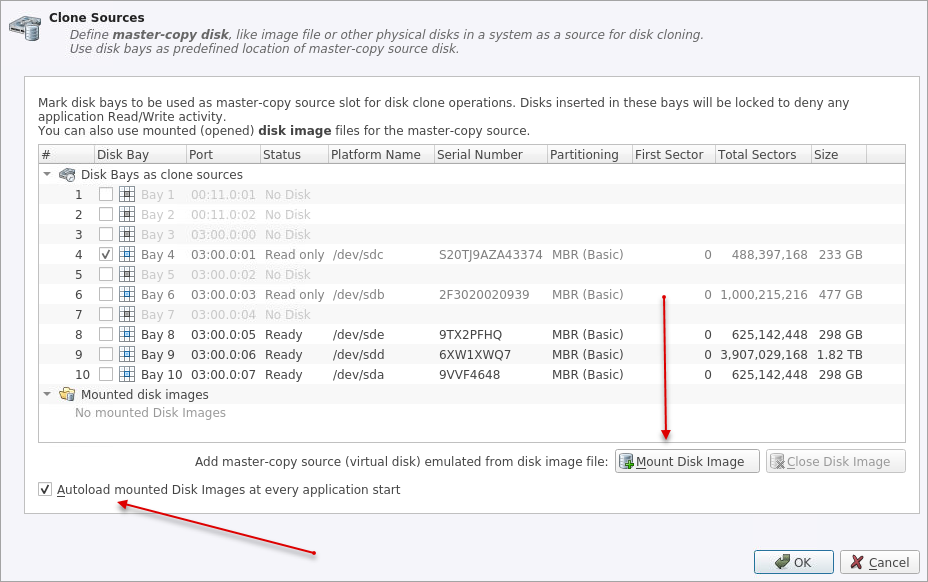
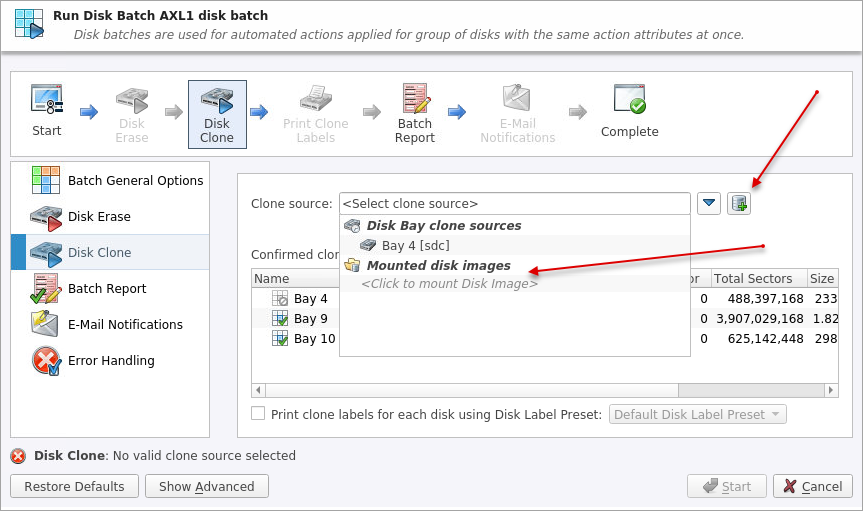
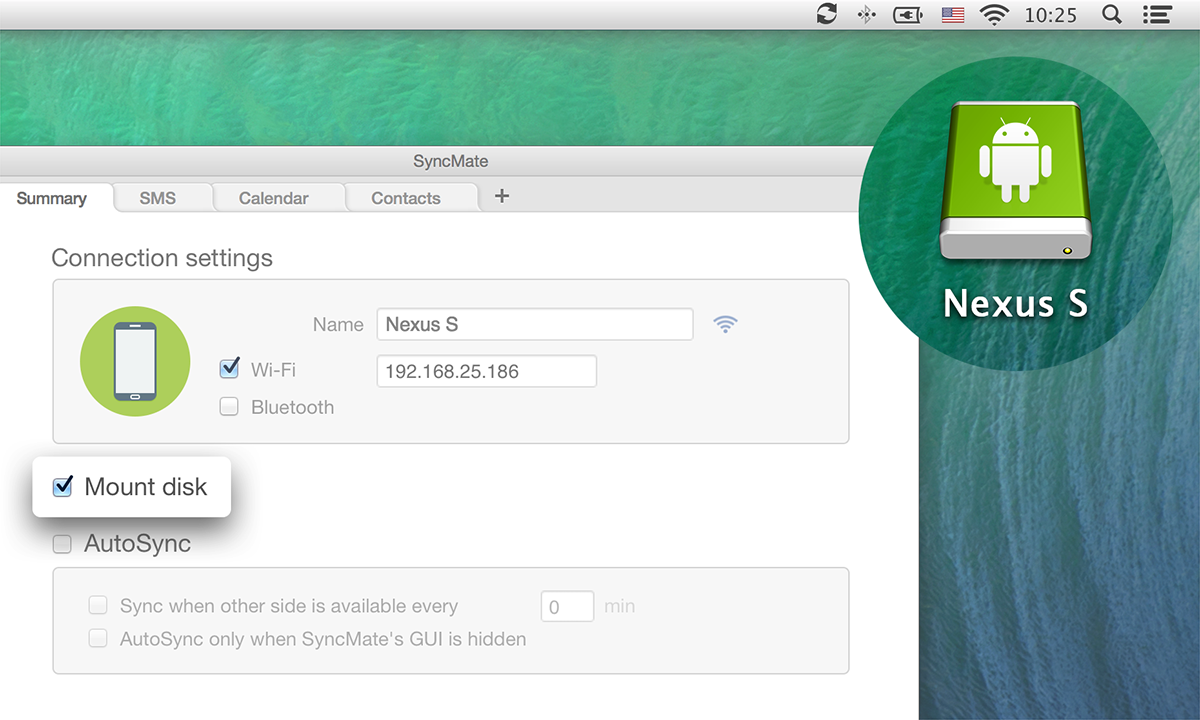
Mounting a disk image might sound like tech jargon, but it's actually a simple process that can make your digital life smoother. Whether you're working with ISO files, DMG files, or any other disk image format, understanding how to mount them is crucial. In this guide, well break down the basics and show you step-by-step how to get started.
If you’ve ever downloaded software from the internet, chances are you’ve come across a disk image. These files are like virtual CDs or DVDs that store data in a compact format. Mounting them allows you to access their contents as if they were physical drives connected to your computer. It's a game-changer for anyone looking to streamline their workflow or manage large files efficiently.
Now, before we dive deep into the world of disk images, let’s clarify one thing: this isn’t just for tech enthusiasts. Mounting disk images is a practical skill that anyone can learn, and by the end of this article, you’ll be doing it like a pro. So, grab a cup of coffee, and let’s get started!
Read also:Richard Giannotti Net Worth The Untold Story Of A Hidden Fortune
What Is a Disk Image and Why Should You Care?
A disk image is essentially a digital copy of a physical disk. Think of it as a snapshot of everything on that disk—files, folders, and even the file system structure. When you mount a disk image, your computer treats it as if it were a real drive, allowing you to access its contents without needing the original physical media.
Why does this matter? Well, disk images are incredibly versatile. They’re used for distributing software, creating backups, and even preserving old games or applications. By learning how to mount them, you gain access to a powerful tool that can save you time and hassle.
Common Disk Image Formats You Should Know
Not all disk images are created equal. Here’s a quick rundown of some popular formats you might encounter:
- ISO: The most common format for CD/DVD images. Used widely for software distributions and backups.
- DMG: Mac-specific format often used for distributing macOS applications.
- VHD and VHDX: Virtual Hard Disk formats commonly used in Windows environments for virtual machines.
- IMG: A raw disk image format often used in Linux systems.
Knowing these formats will help you identify the right tools and methods for mounting them.
How to Mount a Disk Image on Windows
Windows makes it surprisingly easy to mount disk images, especially ISO files. Here’s how you can do it in just a few steps:
- Right-click on the ISO file you want to mount.
- Select "Mount" from the context menu.
- Voila! Your disk image will appear as a virtual drive in File Explorer.
For other formats like VHD or VHDX, you’ll need to use the "Disk Management" tool:
Read also:What Does Eminems Sister Do Exploring The Life And Career Of Dawn Brandy
- Open Disk Management by searching for it in the Start menu.
- Click on "Action" and select "Attach VHD."
- Browse to the VHD file and click "OK."
Simple, right? Windows has built-in support for many disk image formats, making it a breeze to work with them.
Troubleshooting Common Issues on Windows
Sometimes things don’t go as planned. Here are a few common issues you might face when mounting disk images on Windows:
- ISO Won’t Mount: Ensure the file isn’t corrupted and that you have the necessary permissions.
- VHD Not Recognized: Check if the VHD file is compatible with your version of Windows.
- Drive Letter Missing: Assign a new drive letter through Disk Management.
By addressing these issues, you’ll ensure a smoother experience when working with disk images.
Mounting Disk Images on macOS
Mac users have it pretty easy when it comes to disk images. macOS automatically mounts most disk image formats, such as DMG and ISO, without requiring any extra steps. Here’s how it works:
- Double-click the DMG or ISO file.
- macOS will mount the image and display it on your desktop.
- To eject the image, simply drag it to the trash or right-click and select "Eject."
For more advanced users, you can use the "Disk Utility" app to manage disk images manually:
- Open Disk Utility from Applications > Utilities.
- Select the image from the sidebar and click "Eject" when done.
macOS offers a user-friendly approach to handling disk images, making it ideal for beginners and experts alike.
Advanced Tips for macOS Users
If you’re looking to take your disk image skills to the next level, here are a few advanced tips:
- Create Your Own Disk Images: Use Disk Utility to create custom DMG files for backups or software distribution.
- Encrypt Disk Images: Protect sensitive data by encrypting your disk images with a password.
- Automount on Startup: Configure your system to automatically mount certain disk images when you log in.
These features make macOS a powerful platform for managing disk images effectively.
Mounting Disk Images on Linux
Linux offers a wide range of tools for mounting disk images, from graphical interfaces to command-line utilities. Here’s how you can do it:
Using the Command Line
For those who prefer the terminal, here’s a quick guide:
- Open a terminal window.
- Use the
mountcommand followed by the image file and mount point. For example:
sudo mount -o loop image.iso /mnt
Once mounted, you can access the image contents through the specified mount point.
Using a Graphical Interface
If you’re not a fan of the command line, most Linux distributions come with file managers that can handle disk images:
- Right-click the image file and select "Open With Disk Image Mounter."
- The image will be mounted automatically, and you can browse its contents in your file manager.
Linux provides flexibility for users of all skill levels, ensuring everyone can work with disk images comfortably.
Choosing the Right Tools for Mounting Disk Images
While most operating systems offer built-in support for disk images, there are third-party tools that can enhance your experience. Here are a few worth considering:
- WinCDEmu: A free and open-source tool for mounting ISO and other image formats on Windows.
- 7-Zip: A versatile archiving tool that can also mount disk images.
- Disk Utility (macOS): Already mentioned, but worth reiterating for its advanced features.
- FUSE for Linux: Allows you to mount various file systems, including disk images, directly from the command line.
These tools can provide additional functionality and support for less common disk image formats.
Evaluating the Best Tools for Your Needs
When choosing a tool, consider factors such as:
- Compatibility: Does the tool support the disk image format you need?
- Ease of Use: Is it user-friendly, or does it require advanced knowledge?
- Performance: How fast and reliable is the tool in handling large images?
Taking the time to evaluate these factors will help you find the perfect tool for your workflow.
Best Practices for Working with Disk Images
Now that you know how to mount disk images, let’s talk about best practices to ensure a smooth and secure experience:
- Verify Image Integrity: Always check the checksum or hash of the image to ensure it hasn’t been tampered with.
- Keep Backups: Regularly back up important disk images to prevent data loss.
- Limit Access: Restrict who can mount and access sensitive disk images to protect your data.
Following these practices will help you avoid common pitfalls and ensure your disk images remain secure and accessible.
Security Concerns and How to Address Them
Security is paramount when working with disk images, especially if they contain sensitive data. Here are a few tips to keep your images safe:
- Encrypt Images: Use encryption to protect your data from unauthorized access.
- Regularly Update Tools: Keep your mounting tools up to date to patch any vulnerabilities.
- Avoid Untrusted Sources: Only download disk images from reputable sources to avoid malware.
By prioritizing security, you can confidently work with disk images without worrying about potential risks.
Conclusion: Take Control of Your Disk Images
We’ve covered a lot of ground in this guide, from understanding what disk images are to mastering the art of mounting them on different platforms. By now, you should feel confident in your ability to work with disk images and leverage their power in your daily tasks.
Remember, the key to success lies in practice and exploration. Experiment with different tools and techniques to find what works best for you. And don’t forget to share your newfound knowledge with others—after all, helping others is one of the best ways to solidify your own understanding.
So, what are you waiting for? Dive into the world of disk images and unlock a new level of digital efficiency. And if you found this guide helpful, drop a comment below or share it with your friends. Together, let’s make tech accessible to everyone!
Table of Contents
- What Is a Disk Image and Why Should You Care?
- Common Disk Image Formats You Should Know
- How to Mount a Disk Image on Windows
- Mounting Disk Images on macOS
- Mounting Disk Images on Linux
- Choosing the Right Tools for Mounting Disk Images
- Best Practices for Working with Disk Images
- Security Concerns and How to Address Them
- Conclusion: Take Control of Your Disk Images


