Hey there, tech-savvy friend! If you're reading this, chances are you're looking to set up Private Internet Access (PIA) on your Linux system. Well, you've come to the right place. In today’s digital world, protecting your online privacy is more important than ever. And guess what? PIA can be a game-changer for Linux users like you. This guide will walk you through every step of the setup process, ensuring your connection stays secure and private. So, buckle up and let's dive in!
Before we get started, let me clarify something: setting up PIA on Linux isn’t rocket science. Sure, it might seem a little intimidating if you’re not familiar with command-line interfaces, but trust me, it’s way easier than you think. With the right instructions, you’ll have your PIA setup running in no time. Plus, we’ll cover some cool tips and tricks along the way to make your experience smoother.
Now, why should you care about private internet access? Simple: your online activities leave digital footprints that can be tracked by advertisers, hackers, and even ISPs. By using PIA, you can encrypt your data and browse the web anonymously. And hey, who doesn’t want that extra layer of security, right? So, let’s get into the nitty-gritty of setting up PIA on Linux and keeping your online presence safe and sound.
Read also:Richard Giannotti Net Worth The Untold Story Of A Hidden Fortune
Why Private Internet Access Linux Setup Matters
Let’s face it—privacy is a big deal these days. Whether you're streaming your favorite shows, working remotely, or just browsing the web, you want to make sure your data stays safe. That’s where Private Internet Access comes in. PIA is one of the most trusted VPN services out there, and its compatibility with Linux makes it an excellent choice for users who value privacy and security.
But why Linux, you ask? Well, Linux is known for being super customizable and secure. Pairing it with PIA gives you the ultimate combo of privacy and flexibility. Whether you're running Ubuntu, Fedora, or any other distro, PIA has got you covered. So, if you're ready to take control of your online privacy, this guide will show you how to set it all up in just a few simple steps.
What You Need to Get Started
Before we jump into the setup process, let’s talk about what you’ll need. First things first, you’ll need a PIA account. If you don’t have one yet, head over to their website and sign up. Trust me, it’s worth it. Once you’ve got your account sorted, here’s a quick checklist of what you’ll need:
- A Linux system (duh!)
- Your PIA credentials (username and password)
- A terminal window (you’ll be using the command line)
- A text editor (like nano or vim)
Don’t worry if you’re new to the command line. We’ll walk you through everything step by step. And hey, once you’ve got the hang of it, you’ll feel like a Linux pro in no time!
Step-by-Step Guide to PIA Linux Setup
1. Download the PIA Linux Client
The first step is to download the PIA client for Linux. Head over to the PIA website and grab the latest version. Most distros support the .deb or .rpm package formats, so make sure you download the one that matches your system. Once you’ve downloaded the file, open your terminal and navigate to the directory where the file is saved.
For example, if you’re using Ubuntu, you can install the package using the following command:
Read also:Blue Face Net Worth The Untold Story Of A Rising Trap Star
sudo dpkg -i private-internet-access-linux-
Replace
2. Install the Client
Now that you’ve downloaded the PIA client, it’s time to install it. If you’re using a Debian-based distro like Ubuntu, the command we just used will handle the installation. For RPM-based systems like Fedora, you can use the following command:
sudo rpm -i private-internet-access-linux-
Again, replace
3. Log in to Your PIA Account
Now that the client is installed, it’s time to log in. Open the PIA application from your app menu and enter your username and password when prompted. If you’ve never logged in before, you’ll be asked to create a new token. Don’t worry, this is a one-time process, and it’s super easy to do.
Once you’ve logged in, you’ll see a list of available servers. Choose the one closest to your location for the best performance. Or, if you want to access geo-restricted content, pick a server in the country where the content is available.
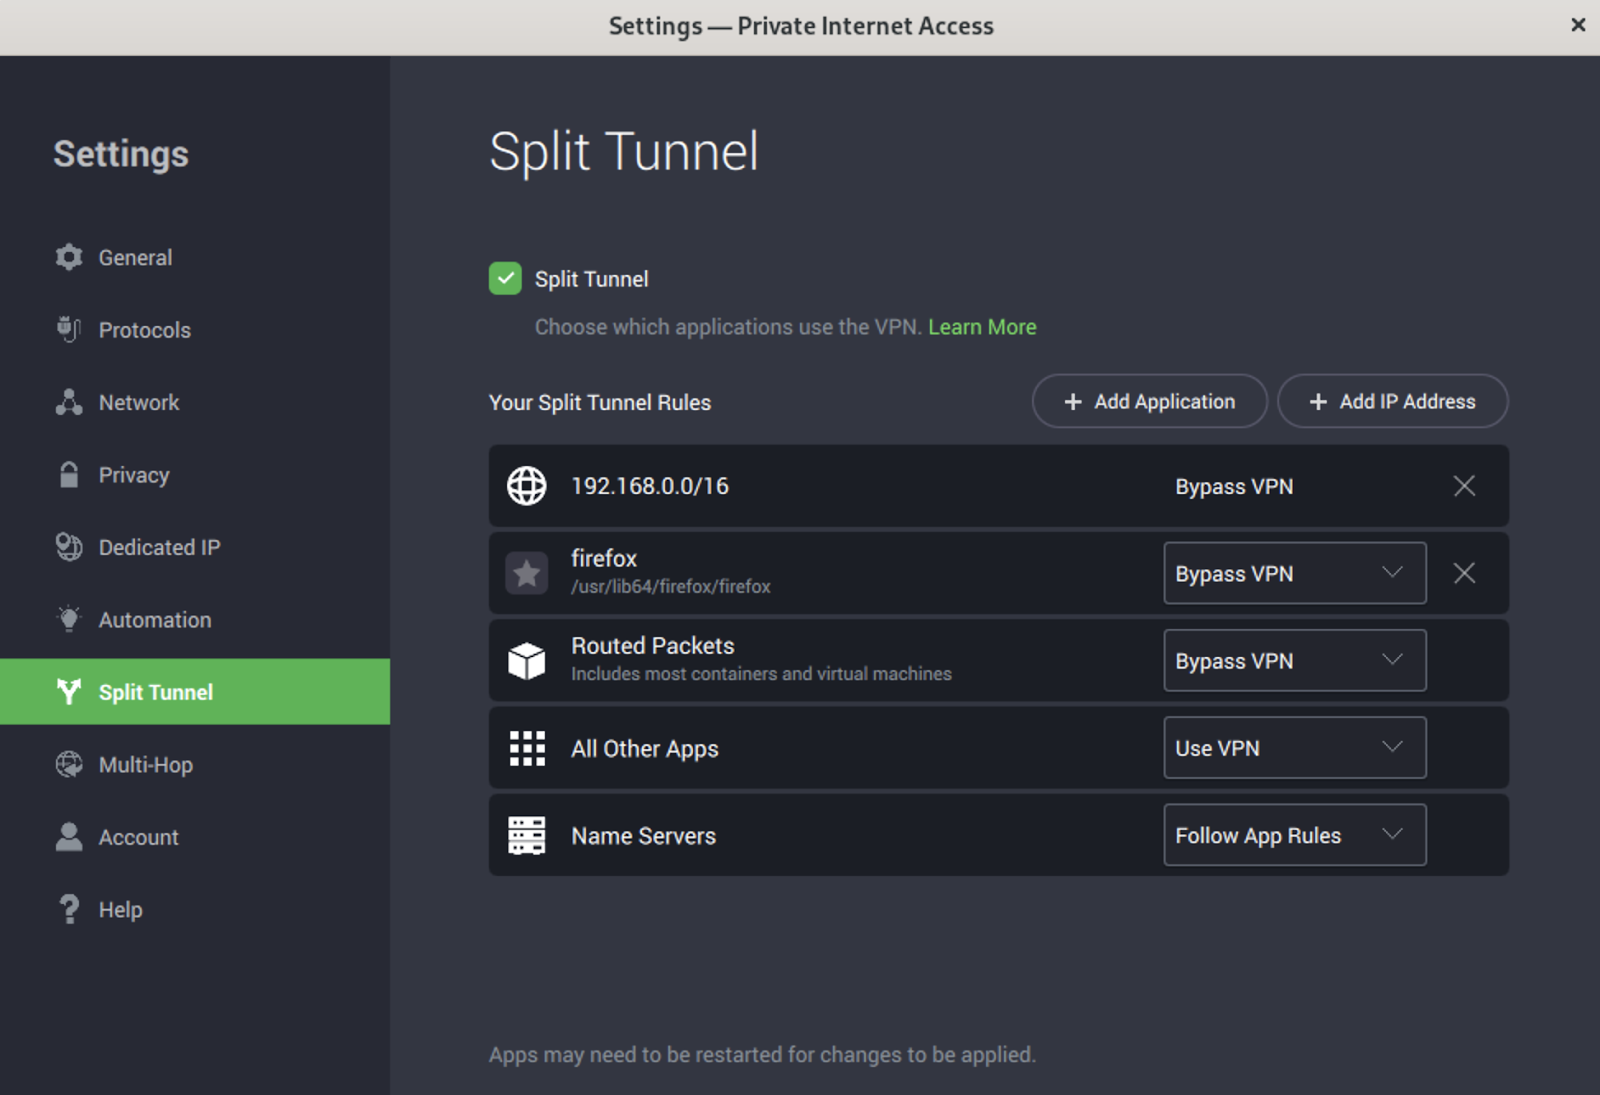
4. Configure Your Connection
After logging in, you’ll need to configure your connection settings. PIA offers several options, including:
- OpenVPN
- WireGuard
- Automatic
For most users, the automatic option works just fine. However, if you’re a power user, you might want to experiment with OpenVPN or WireGuard for better performance or security. To change your settings, go to the preferences menu and select the protocol you prefer.
5. Connect to the VPN
Finally, it’s time to connect to the VPN! Click the “Connect” button, and PIA will establish a secure connection to the server you selected. You’ll see a notification when the connection is successful. Congratulations! You’re now browsing the web with enhanced privacy and security.
Tips and Tricks for Optimal Performance
Now that you’ve got your PIA setup running, here are a few tips to help you get the most out of it:
- Use the kill switch feature to prevent data leaks if the connection drops.
- Enable the ad-blocking feature to block annoying ads and trackers.
- Experiment with different servers to find the one with the best performance.
- Regularly update the PIA client to ensure you have the latest features and security patches.
By following these tips, you’ll ensure your PIA setup is as secure and efficient as possible. Plus, you’ll enjoy a smoother browsing experience with fewer distractions.
Common Issues and How to Fix Them
Even the best setups can run into issues sometimes. Here are a few common problems you might encounter and how to fix them:
1. Connection Drops
If your connection keeps dropping, try switching to a different server. Sometimes, certain servers can be overloaded, causing connectivity issues. You can also enable the kill switch feature to prevent data leaks if the connection drops unexpectedly.
2. Slow Speeds
Slow speeds can be frustrating, but they’re usually easy to fix. Start by testing your internet connection to see if the issue is with your ISP. If your connection is fine, try switching to a server closer to your location. You can also experiment with different protocols to find the one that works best for you.
3. Login Issues
If you’re having trouble logging in, make sure you’re entering the correct credentials. If you’ve forgotten your password, you can reset it through the PIA website. If the issue persists, try reinstalling the client or contacting PIA support for assistance.
Advanced Configuration Options
If you’re feeling adventurous, there are several advanced configuration options you can explore. For example, you can set up PIA using the command line instead of the graphical interface. This can be especially useful if you’re running a headless server or prefer working in the terminal.
Here’s a quick example of how to set up PIA using the command line:
sudo apt-get update
sudo apt-get install openvpn
wget https://install.privateinternetaccess.com/installer/install_ubuntu.sh
sudo bash install_ubuntu.sh
Once the installation is complete, you can connect to the VPN using the following command:
sudo openvpn --config /etc/openvpn/pia/
Replace
Why PIA is the Best Choice for Linux Users
So, why should you choose PIA over other VPN services? Here are a few reasons:
- No-logs policy: PIA doesn’t keep logs of your online activities, ensuring your privacy is protected.
- Wide server network: With servers in over 70 countries, you’ll always find one that suits your needs.
- Excellent customer support: PIA offers 24/7 support to help you with any issues you might encounter.
- Affordable pricing: PIA offers competitive pricing plans, making it accessible for users on any budget.
Plus, PIA’s compatibility with Linux makes it an ideal choice for users who value privacy and security. With its robust features and reliable performance, PIA is a top contender in the VPN market.
Conclusion: Take Control of Your Online Privacy
And there you have it—your ultimate guide to setting up Private Internet Access on Linux. By following these steps, you can ensure your online activities remain private and secure. Remember, protecting your data is more important than ever, and PIA is an excellent tool to help you do just that.
So, what are you waiting for? Get started with your PIA setup today and take control of your online privacy. And don’t forget to share this guide with your friends and family. The more people know about online security, the safer we all are. Thanks for reading, and happy browsing!
Table of Contents
- Why Private Internet Access Linux Setup Matters
- What You Need to Get Started
- Step-by-Step Guide to PIA Linux Setup
- Tips and Tricks for Optimal Performance
- Common Issues and How to Fix Them
- Advanced Configuration Options
- Why PIA is the Best Choice for Linux Users
- Conclusion: Take Control of Your Online Privacy